A guide to selection and installation of automatic pool cleaners
Preparation and assembly

There are some universal steps for assembling and installing an automatic pool cleaner. No matter what type or model, the installer should start by removing the contents from the box and laying the hoses on the deck. For a pressure cleaner, laying out the long soft hose is very important, as it may need a day or two to lose its physical memory of being coiled up in the box.
The next steps may be unique to the particular cleaner, but, in general, they involve assembling parts as necessary. Some cleaners come ready to install, right out of the box.
Measure the hose
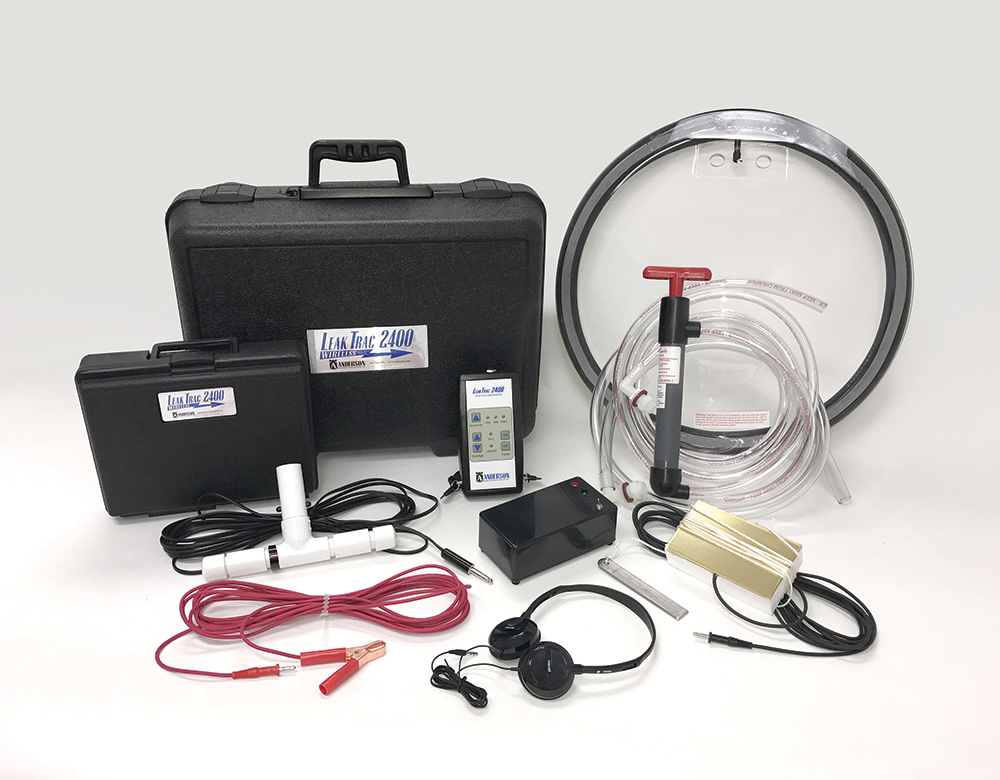
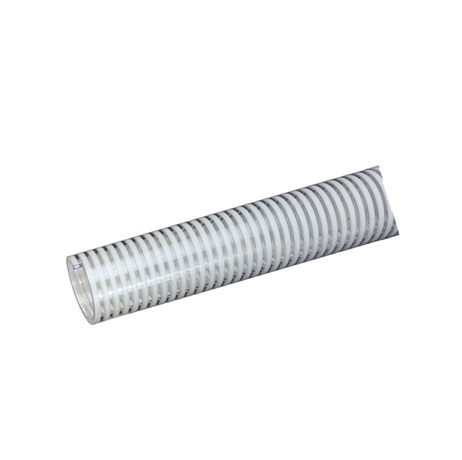
Measuring hoses is an important step for pressure and suction cleaners (robotic cleaners do not have hoses). For a suction cleaner, the installer should measure enough hose to reach from the connection point to the farthest part of the pool, plus a little bit more. For suction cleaners that come with hose sections, the ‘little bit more’ will typically be one section. To adjust the hose length, use more or fewer hose sections.

For pressure cleaners equipped with a single piece of soft feed hose (also called the lead hose), it will need to be trimmed so its length matches the pool’s depth. Other hose parts connect in a particular way that varies from model to model. Consult the owner’s manual.
Once the hose length is determined, weights (for suction cleaners) or floats (for pressure cleaners) are added to neutralize the hose’s buoyancy in the water. The deeper the pool, the more weights will be needed. If the pool is only 1.2 m (4 ft) deep, one weight will do the trick. A pool more than 3.6 m (12 ft) deep could need as many as four weights. The installation manual should provide guidelines for the number and placement of weights.
Robotic cleaners may require assembly of the cart that holds the power supply (transformer) and what the cleaner rests on when it’s not in the pool. The cleaner head may also need to be assembled.
Wall fittings
For pressure cleaners, the wall fitting will need to be connected to the wall (with the filter pump and booster pump off). Then, the cleaner bag or net can be installed on the unit and the hose can be connected to the wall fitting.
Suction cleaners also require a wall fitting, or a cone and vacuum regulator, to be installed into the skimmer. Before performing this part of the installation, turn off the pool pump. Then, close the main drain and all suction lines, except the line from the skimmer to which the cleaner will be connected. Remove the skimmer basket. Attach the parts, which may include a cone-shaped adapter and an automatic regulator valve. The cone accommodates either a 38- to 51-mm (1.5 to 2-in.) skimmer and is installed on the suction port of the skimmer. The regulator is adjustable for the proper flow through the cleaner.
For all cleaner installations, the last step before placing it in the pool is connecting the head to the hose. Connection types will vary depending on the cleaner type and model. For suction and pressure cleaners, the unit should be submerged to evacuate any air prior to initial use. Air will also need to be purged from the hoses. This is done by feeding the hose vertically into the pool until it is completely filled with water. Finally, the hose is connected to the port, making the cleaner ready for action.
Sign up for our newsletter
Get all the latest news and features from Pool & Spa Marketing. Submit your email below to get our twice-monthly newsletter.
Related Products

Read the Latest Issue