A guide to selection and installation of automatic pool cleaners

by Sally Bouorm | January 1, 2011 12:51 pm

KK1218_Kreepy[1]
Pool shapes, sizes and surfaces should be considered when selecting a cleaner.

By Sue Robach

Automatic pool cleaners are relatively simple machines that can take most of the grunt work out of pool care. There are three main types of cleaners—suction, pressure and robotic—each with their own advantages and disadvantages.

Suction cleaners

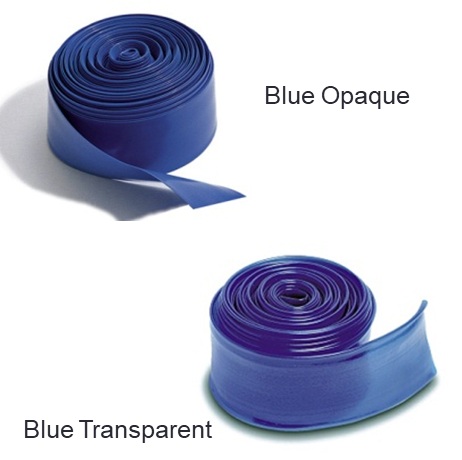
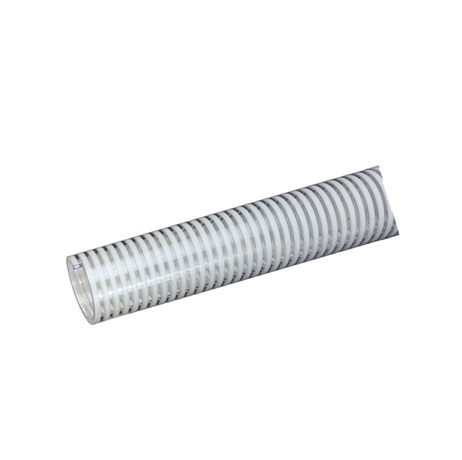
These cleaners attach to one of the swimming pool’s suction ports. Usually, this port is the skimmer; however, some pools are designed with a dedicated vacuum port. When the cleaner is operating, suction is created on the underside of the cleaner via the pool’s circulation pump. Dirt and debris is sucked up by the cleaner as it moves around the pool. It then passes through the hose, past the suction port, through the pipe and is eventually trapped in the filter pump’s strainer basket.

Pressure cleaners

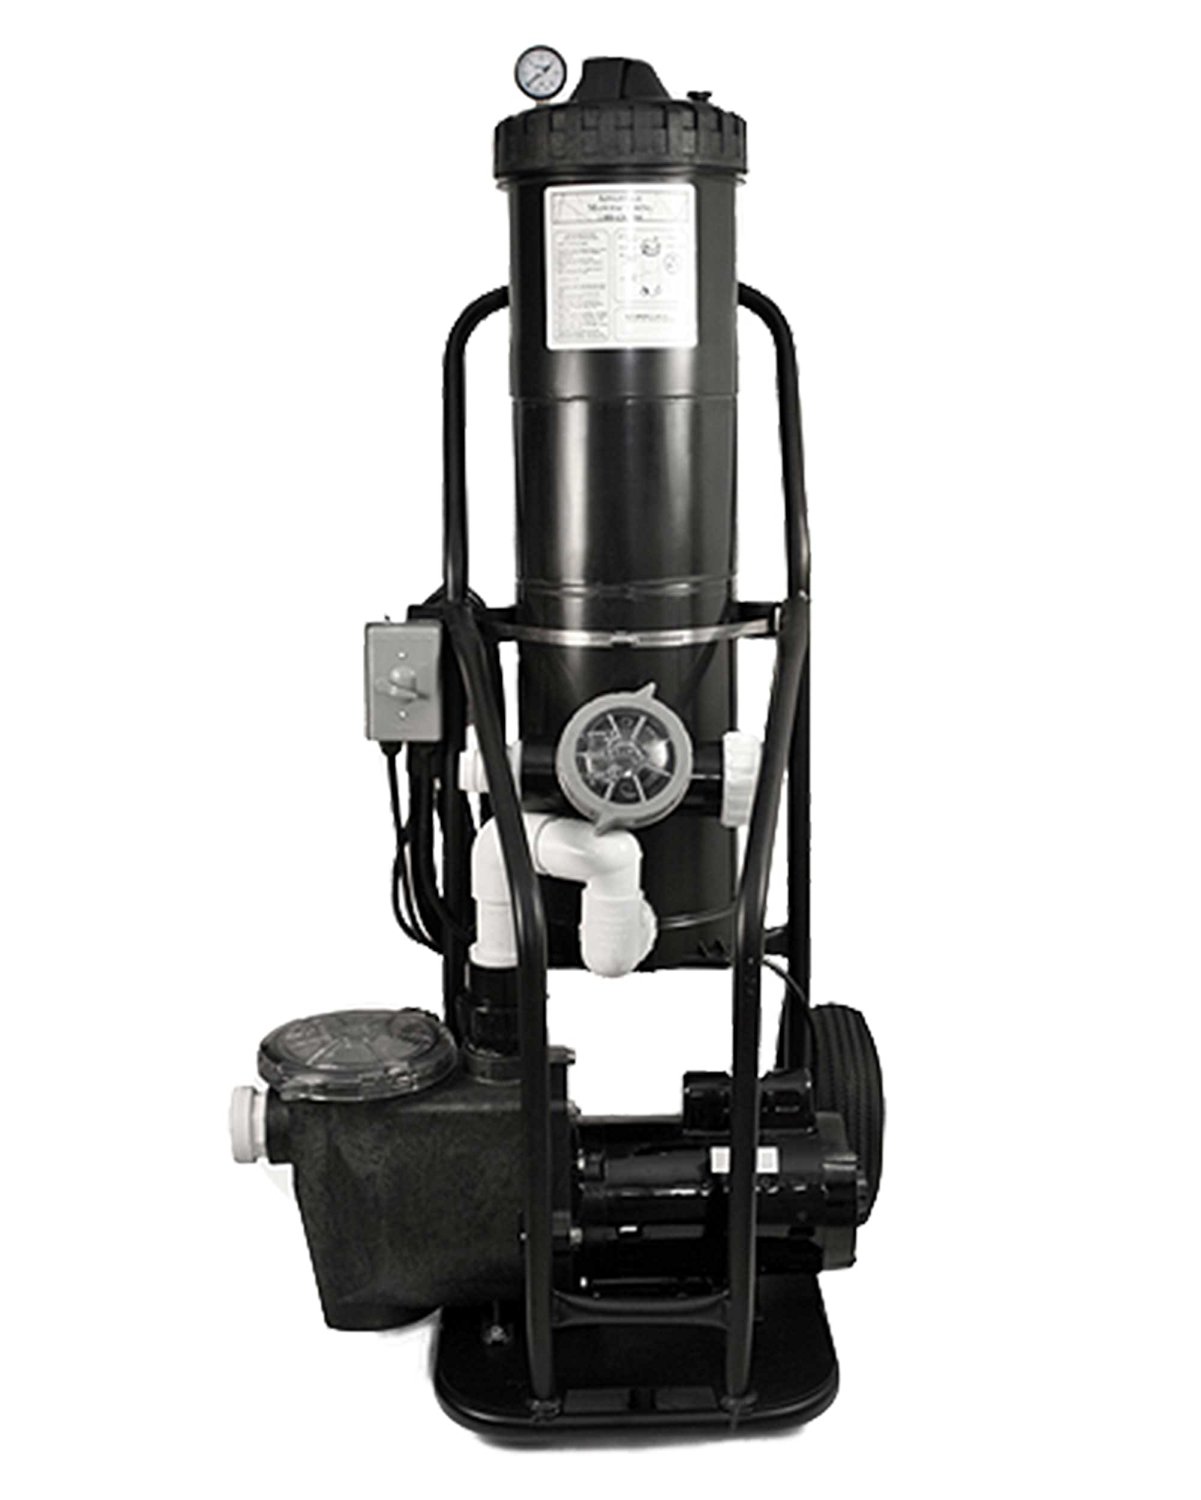
These cleaners attach to the return (pressure side) of the pool’s circulation system. This is the side of the plumbing that returns clean, filtered water to the pool. These cleaners are powered by water pressure to pick up dirt and debris, collecting it in a bag or net, which is part of the cleaner head. Some models use booster pumps to supplement power from the pool pump. Pressure cleaners that do not require booster pumps offer a ‘green’ option, as less equipment is required.

Robotic cleaners

PR730 copy[2]
Some robotic cleaners have remote controls, which allow the pool owner to steer the unit from the deck for easy spot cleaning.

Powered by low-voltage electricity rather than the pool’s pump or a booster pump, robotic cleaners are also considered ‘green’ because they operate independent from the pool’s circulation system. Robotic cleaners have their own built-in filters, further reducing the demand on the pool’s primary filtration system. These differences result in lower energy costs, greater life expectancy for the pool’s pump and filter and longer periods between filter cleanings.

These cleaners are also convenient to use. Some even have remote controls, which allow the pool owner to steer the unit from the deck for easy spot cleaning. However, similar to a fully-loaded vehicle, these benefits come with a higher initial price tag. Some customers are willing to pay more up front knowing they can reduce long-term energy costs and increase the circulation system’s lifespan.

Key factors to consider when selecting a cleaner

Often, a particular type or brand of cleaner will dominate a geographic market because of environmental factors. For example, pressure-side and robotic cleaners handle heavy leaf loads better than suction-side cleaners, but suction-side cleaners are better equipped to consistently pick up fine debris, such as sand.

Pressure cleaners are often the better choice in leafy environments because they do not rely on the pool’s circulation system in the same way suction cleaners do. As suction cleaners get their power from the suction side of the pool’s circulation system, they can sometimes get into trouble in heavy debris situations. That is, if the cleaner chokes on heavy leaves or debris, the circulation pump could lose prime (no longer pumping water), which can compromise the entire filtration system. Pressure-side cleaners also rely on the circulation pump, but they are plumbed on the discharge side of the filter, so the amount of debris they are attempting to collect does not affect the overall system demand in the same way.

Pool shapes, sizes and surfaces should also be considered when selecting a cleaner. For example, cleaners that follow or push the lead hose can get stuck in sharp, tight corners. Some adjustments may be made to assist the cleaner, but cleaners that operate on the bottom of the pool and pull the leader hose (rather than pushing it) perform better in pools with sharp angles.

Other pool cleaner obstacles are handrails and steps. An old-fashioned floating cleaner may work well in this instance, as would a bottom cleaner using a programmed cycle, which allows the cleaner head to eventually turn in another direction.

The pool’s surface can also affect cleaner efficiency. Most work well on plaster surfaces, but fibreglass and vinyl surfaces are very slick. Cleaners with tires, pads, feet or bristles designed to grip slick surfaces should be used in these applications. These cleaners should be labelled for use on either vinyl or fibreglass. It is also important to note newer aggregate surfaced pools and older pitted plaster pools may cause more wear and tear on a cleaner due to the rougher surface.

Preparation and assembly

BS_4643323 copy[3]
No matter what type or model of pool cleaner being installed, start by removing the hose from the box, as it may need a day or two to lose its physical memory of being coiled up.

There are some universal steps for assembling and installing an automatic pool cleaner. No matter what type or model, the installer should start by removing the contents from the box and laying the hoses on the deck. For a pressure cleaner, laying out the long soft hose is very important, as it may need a day or two to lose its physical memory of being coiled up in the box.

The next steps may be unique to the particular cleaner, but, in general, they involve assembling parts as necessary. Some cleaners come ready to install, right out of the box.

Measure the hose

Measuring hoses is an important step for pressure and suction cleaners (robotic cleaners do not have hoses). For a suction cleaner, the installer should measure enough hose to reach from the connection point to the farthest part of the pool, plus a little bit more. For suction cleaners that come with hose sections, the ‘little bit more’ will typically be one section. To adjust the hose length, use more or fewer hose sections.

Suction_Cleaner_Hose_Assembly copy[4]
For suction cleaners, the installer should measure enough hose to reach from the connection point to the farthest part of the pool, plus a little bit more.

For pressure cleaners equipped with a single piece of soft feed hose (also called the lead hose), it will need to be trimmed so its length matches the pool’s depth. Other hose parts connect in a particular way that varies from model to model. Consult the owner’s manual.

Once the hose length is determined, weights (for suction cleaners) or floats (for pressure cleaners) are added to neutralize the hose’s buoyancy in the water. The deeper the pool, the more weights will be needed. If the pool is only 1.2 m (4 ft) deep, one weight will do the trick. A pool more than 3.6 m (12 ft) deep could need as many as four weights. The installation manual should provide guidelines for the number and placement of weights.

Robotic cleaners may require assembly of the cart that holds the power supply (transformer) and what the cleaner rests on when it’s not in the pool. The cleaner head may also need to be assembled.

Wall fittings

For pressure cleaners, the wall fitting will need to be connected to the wall (with the filter pump and booster pump off). Then, the cleaner bag or net can be installed on the unit and the hose can be connected to the wall fitting.

Suction cleaners also require a wall fitting, or a cone and vacuum regulator, to be installed into the skimmer. Before performing this part of the installation, turn off the pool pump. Then, close the main drain and all suction lines, except the line from the skimmer to which the cleaner will be connected. Remove the skimmer basket. Attach the parts, which may include a cone-shaped adapter and an automatic regulator valve. The cone accommodates either a 38- to 51-mm (1.5 to 2-in.) skimmer and is installed on the suction port of the skimmer. The regulator is adjustable for the proper flow through the cleaner.

For all cleaner installations, the last step before placing it in the pool is connecting the head to the hose. Connection types will vary depending on the cleaner type and model. For suction and pressure cleaners, the unit should be submerged to evacuate any air prior to initial use. Air will also need to be purged from the hoses. This is done by feeding the hose vertically into the pool until it is completely filled with water. Finally, the hose is connected to the port, making the cleaner ready for action.

Maiden voyage

Before any cleaner can operate, however, it needs power. In the case of robotic cleaners, this is typically an outdoor electrical outlet. (The cleaner’s power supply, which in turn plugs into the outlet, must be at least 3 m [10 ft] from the water’s edge for safety, according to the National Electrical Code [NEC] and some local codes.) For pressure and suction cleaners, the power will come from the pool equipment.

Once the cleaner is in the water, turn it (or the pool pump) on and allow it to run for a couple of minutes to ensure all the air is out of the system.

For suction cleaners, it is important at this stage to confirm the hose length is correct. The pump needs to be turned on when checking the length, as the hose will contract when the pump is operating. If the hose length is checked when the pump is off, it may appear long enough when it really is not.

With the pump on, move the cleaner with a pool pole to the furthest point in the pool from its attachment point (typically the skimmer) and ensure it has adequate slack. If hose length adjustments are necessary, be sure to turn off the pool pump before disconnecting sections.

Hose balance is also important for suction cleaner operation. This should be observed with the pump off. The balance is correct if the cleaner’s seal rests flat on the bottom of the pool and the drive tube, or leader hose is at a 45-degree angle relative to the pool floor. If the angle of the drive tube is off, the hose is too light and the weights should be moved closer to the unit. If the cleaner is lying down, the hose has too much weight.

Thrust jets, which are unique to some pressure cleaners, may also require some fine tuning upon first use. These jets alter the direction of the cleaner. Sweep hoses are another commonly adjusted part of most pressure cleaners. Sweep hose motion can be adjusted by turning a screw.

For pressure cleaners, another item worth checking is the wheel revolutions per minute (RPM), as this can help determine if the cleaner is receiving the proper water pressure. To measure wheel RPM, turn off the pool pump and remove the cleaner from the pool. Mark the front drive tire with a marker and place the cleaner back in the pool while someone turns on the pool and booster pumps. Count the rotations of the marked wheel for one minute. If the RPM is too high, an on-site adjustment can be made by fine tuning the bypass valve at the wall fitting. If it is too low, adjust the bypass or verify the cleaner line pipe size and filtration pump size.

Refer to the manual

This article has provided an overview of how to select and install most types of automatic pool cleaners. However, always consult the owner’s manual for product-specific instructions. A subsequent article will cover routine maintenance and troubleshooting.


OLYMPUS DIGITAL CAMERA

Sue Robach is the national training manager for Pentair Water Pool and Spa. She has been leading technical seminars and preparing training materials for 20 years. Prior to joining Sta-Rite, which was later purchased by Pentair, she ran her own pool service firm in Sacramento, Calif. She can be reached via e-mail at sue.robach@pentair.com[5].

Endnotes:
  1. [Image]: http://poolspamarketing.com/wp-content/uploads/2011/01/KK1218_Kreepy.jpg
  2. [Image]: http://www.poolspas.ca/wp-content/uploads/2015/07/PR730-copy.jpg
  3. [Image]: http://www.poolspas.ca/wp-content/uploads/2015/07/BS_4643323-copy.jpg
  4. [Image]: http://www.poolspas.ca/wp-content/uploads/2015/07/Suction_Cleaner_Hose_Assembly-copy.jpg
  5. sue.robach@pentair.com: mailto:sue.robach@pentair.com

Source URL: https://www.poolspamarketing.com/trade/a-guide-to-selection-and-installation-of-automatic-pool-cleaners/