Pebble exposed finishes


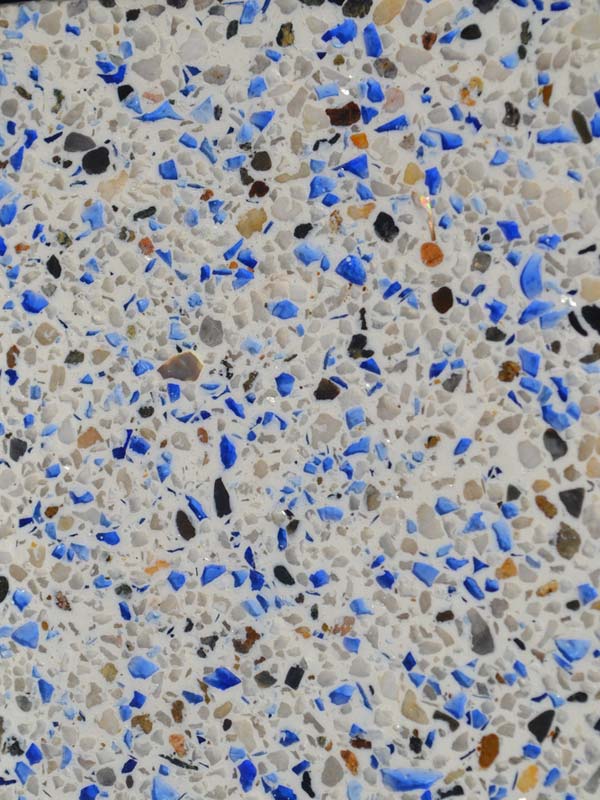
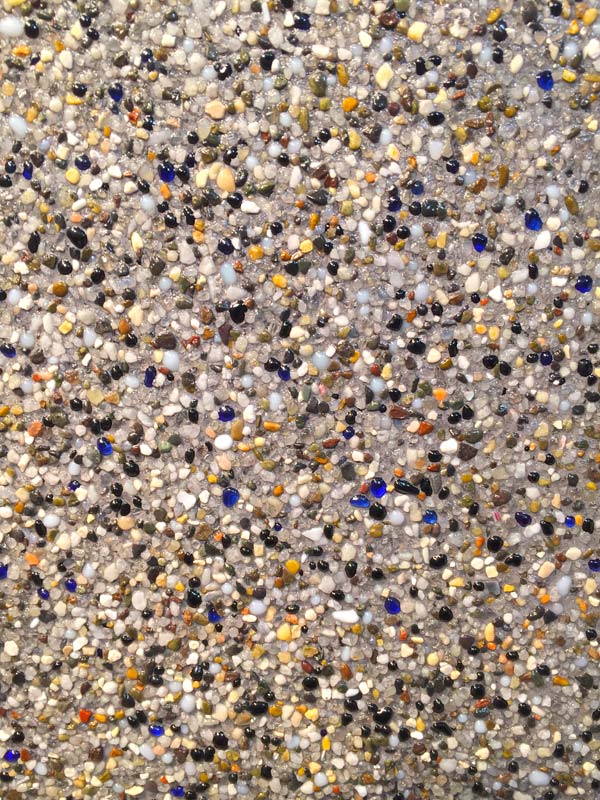
Pebble exposed finishes are similar to that of exposed quartz in terms of removing the cement cream from the surface, thus exposing, in this case, small pebble aggregate rather than (quartz, silica) aggregate. Pebble aggregate ranges from large 2 to 3 mm (standard) to mini 1 to 2 mm in size and is mixed at a one-part pebble aggregate to one-part cement ratio. Since the aggregate is larger than the other finishes mentioned, it must be applied at a minimum of 13 to 25 mm (0.5 to 1 in.) thick for proper pebble compaction, resulting in a consistent finish when exposed.
Two different exposure methods can be used: water washing with brushes or water wands. Exposure techniques depend on how the plaster crew is trained to apply the particular pebble product they are using. The objective is to create the pebbles as close together as possible with the least amount of high spots to achieve an esthetically pleasing finish. Both exposure methods work well and achieve great results depending on the experience of the plaster crew. Pebble products are durable and more costly when compared to the other previously mentioned finishes.
Including glass bead accents in the pebble mixture adds more shimmer to the pool finish and is another option for the homeowner. When considering this pool finish, it is suggested the client feels the product’s dimpled texture. It is not as smooth as the other options due to its large aggregate size, and under extreme chemical fluctuations, even pebble surfaces will suffer deterioration.
Polished finishes
Simply stated, all of the aforementioned finishes can be polished to a smooth glass-like texture using wet polishing machines with special grinding disks. One advantage of this is the pool can be re-polished at a fraction of the cost of resurfacing later down the road.
Re-surfacing older concrete pools
New coping, tile, and plaster finishes can also be applied to older, existing concrete pools as part of a renovation project. The removal of the old tile and coping and the installation of new materials is an easy job for a seasoned concrete pool crew.
When it comes to re-plastering a pool using the options listed earlier, the following should be kept in mind if the old tile and coping are remaining.
- The pool should be drained completely and the hydrostatic valve or plug removed from the main drain.
- The old pool should be inspected for existing finishes such as paint or fibreglass. If either is evident, it needs to be grinded or sandblasted off the substrate completely. If there is no evidence of paint or fibreglass, proceed to the third step.
- The old existing plaster should be chipped (keyed) 76.2 to 152 mm (3 to 6 in.) below the waterline tile, around return fittings, and lights to achieve a transition that creates a flush watertight seal with the new plaster.
- The pool should be inspected for any delaminated (hollow) areas on old plaster and removed if any are found. Deep areas of delamination should be filled in with mortar mix and acrylic additive.
- The entire pool should be acid washed and neutralized with sodium bicarbonate once finished.
- Using a roller, broom, spray, or fine-notch trowel, a bonding coat should be applied and allowed to dry for a minimum of 24 hours.
- The plaster should be applied to the pool interior.
- The pool must be filled quickly to avoid shrinkage.
- The start-up procedures for plaster pools should be followed.
Homeowner education is important
Concrete pools can get be complex and pricey for the client when it comes to choosing the right finishes. Every homeowner’s needs are unique and their budgets differ whether they are having a new concrete pool installed or having an existing one renovated; therefore, it is important to explain all of these options. A reputable, experienced company will back their work after installation within product warranty guidelines. Contractors should educate their customers by stressing the consequences of a poorly maintained pool by comparing it to the consequences of never changing the oil in their brand new vehicle.
| Start-up procedures for plaster pools |
|---|
| The first 28 days after the application of a plaster finish is called the curing stage. Proper start-up procedures on newly plastered pools are crucial to the surface appearance and its integrity in the long-term.
High-quality sequestering agents should be added per manufacturer’s recommendations to minimize any metals in the fill water from coming out of solution to avoid permanently blemishing the pool finish. A good sequestering agent will also minimize calcium hydroxide (plaster dust) from emanating and adhering to the surface forming scale. Brushing the pool thoroughly twice a day until the plaster dust is no longer evident (usually 14 days), will significantly reduce scale and algae formation while the pool is not being chlorinated. A trained professional who is aware of these techniques should complete the start-up as he/she can oversee the process as it may be overwhelming for most homeowners. If the start-up procedures are not completed properly during the curing stage, it will likely result in problems such as discolouration or premature wear and tear in the future. The National Plaster Council (NPC), an association specifically for pool plasterers, builders, and service companies has published a list of these procedures, which can be found by visiting www.npc.online.org. |
 Michael Odorico is president of Leo Marbelite Inc., in Toronto. The company has completed various plaster pool finishes on more than 7000 pools in Ontario and abroad since it was established in 1989. Odorico has also been an active member of the National Plasterers Council (NPC) since 2006. He can be reached via e-mail at mike@leomarbelite.com.


I didn’t realize that concrete pools are considered “the Cadillac” of pools. Since it is one of the best ways to get a natural looking finish, this is the style I would want for my pool. We have plenty of space in our yard to have a pool installed, we just need to work out the budget and start contacting contractors. http://diamentisteel.com/services.html
Great information. This is one of the best blog I had ever read. Keep doing this amazing work.