Building dream decks
By Joel Seibert

The idea of backyard decks have shifted from an outdoor area with the capacity to hold a table and a couple of lawn chairs to an extension of the home.Decks have always been a common place to gather with friends and family to enjoy a sunny summer day, or a warm summer evening. In its purest form, a deck is a raised structure attached to, or near the exterior of, a structure that is unprotected and left exposed to the elements. In the last 10 years, with the eruption of the Internet, ‘how-to’ manuals, and the advent of do-it-yourself (D-I-Y) television channels/programs, decks have morphed from their traditional form into some of the most elaborately designed structures associated with home construction.
The idea of a deck has shifted from an outdoor area with the capacity to hold a table and a couple of lawn chairs to an extension of the home. New Age decks, now commonly referred to as ‘outdoor living spaces,’ often include, but are not limited to, outdoor kitchens, hot tubs, pergolas, wet bars, and pools. A deck is, by definition, an unroofed porch or platform. That said, the sky is the limit as to what these structures can include.
This article details the process involved in creating large-scale decks and outdoor living spaces—from the initial meeting with the client, through the design/planning stage, to permitting, and construction.
The initial meeting
During the initial meeting, visit the client’s site and survey the area where the deck is to be constructed, and record any measurements required for the design/planning stage. For the most part, a square foot measurement of the area the deck will encompass and a drawing with measurements detailing how the deck will attach to the house will suffice. However, for design and permitting purposes, a copy of the Real Property Report (RPR) should be obtained from the client.
Once the area has been determined, assess the client’s needs, wants, intentions, and budget for the deck as this information will prove useful in designing a custom outdoor living space specific to their needs.
Planning and design
When planning and designing the deck, the information collected during the initial meeting is compiled into a visual representation of the finished project. During this phase, deck design tools should be used to aid in the development process. These programs enable the entire project to be laid out, including all construction stages—from pilings to decking materials. Custom railing options can also be generated using these programs to create a full, visual replica of the project. Further, these programs are designed to extrapolate the substructure plans, making it easy to submit drawings to the building permit department for approval.

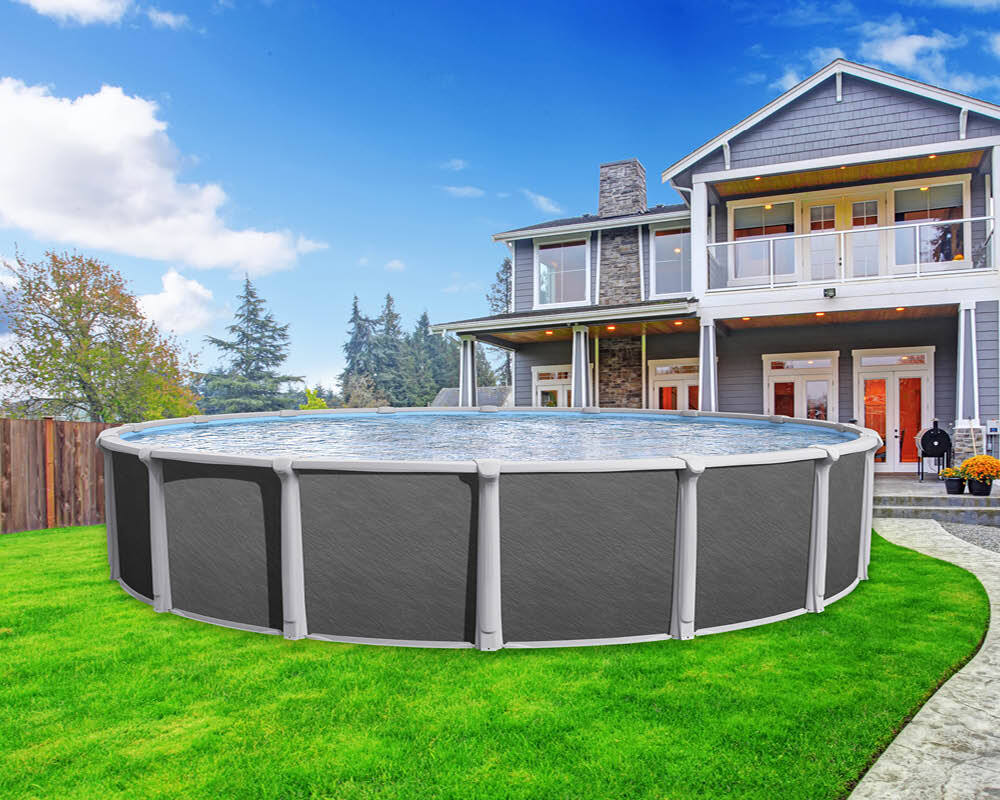
 While planning, drawings, and decking components should be completed to scale, an overhead view works well during the planning and design stage. By starting with a scale bird’s-eye view deck drawing, features and/or accessories such as pergolas, hot tubs, outdoor kitchens, etc., can be measured accurately to best determine their location in the general scheme of the deck. If the deck is being built around large features such as a pool, spa, or garden, start the design with the placement of the feature and design the project outwards from its footprint.
At this stage it is also important to take into consideration the weight of any accessories being added to the deck. When possible, features such as pergolas and arbors that have posts incorporated in their construction, the posts should run through the deck frame to pilings in the ground (under the deck). This is beneficial for a number of reasons:
- It removes any additional weight off of the deck surface and transfers it to the pilings.
- It provides additional anchor points for framing, thus making the structure stronger.
- By strategically adding posts and beams under the substructure, they increase the potential for a successful project by strengthening the substructure.

When additional pilings are added they must be documented on the construction plan. Pilings should be at least 1.2 m (4 ft) deep and 254 mm (10 in.) wide. This puts the base of the pilings below the frost layer and minimizes the chance of frost heaving, which can compromise the substructure’s structural integrity. Where heavy structures are installed and posts are unable to run through the deck, additional pilings, beams, and joisting should be added to the substructure.
Once the surface layout is complete, a structural cross-section drawing is required. These drawings are required at the permitting stage as they are far more detailed and encompass everything included in the substructure or frame. This drawing must include:
- Header boards and how they are fastened to the wall;
- Piling locations, as well as depth in the ground;
- Post dimensions (e.g. 4×6, 6×6, etc.);
- Beam dimensions (e.g. three-ply, pressure-treated 2×10);
- Joist dimensions (e.g. 2×8, 2×10, 2×12, etc.)
- Joist spacing; and
- Railing location, height, and design.

Beam and joist selection is based on the distance between points of contact. For example, the first point of contact (A) is considered to be where the joists are connected (via joist hangers) to the header board on the house, while the second point of contact (B) is where the joist intersects with the beam. The span, which is the distance between contact points A and B, determines joist sizing.
Joist sizing specifications can be found via the National Building Code of Canada (NBC) website (www.nationalcodes.nrc.gc.ca). Here, joist span charts will detail the proper joist size required, material, and number of plies suitable to span the desired distance.
Selection deck materials
It is important to determine the decking material that will be used on the surface early in the planning process. Many factors will play into the material selection, including amount of traffic, deck shape and location on the house, if it surrounds a pool or hot tub, client’s willingness to maintain the product, overall look the client is trying to achieve, colour preferences, budget, and the general desired use of the area. This list can be endless (see Figure 1).
Decking materials can be broken down into six major categories:
- Composite;
- Domestic woods (e.g. spruce, cedar, pressure-treated, etc.);
- Exotic woods (e.g. batu, ironwood, ipe, etc.);
- Vinyl;
- Cement/aggregate; and
- Natural/manufactured exterior tiles.
The material selected will play a role in how the deck is framed; framing plans will need to be detailed in the structural cross-section drawing.
Sign up for our newsletter
Get all the latest news and features from Pool & Spa Marketing. Submit your email below to get our twice-monthly newsletter.


Read the Latest Issue