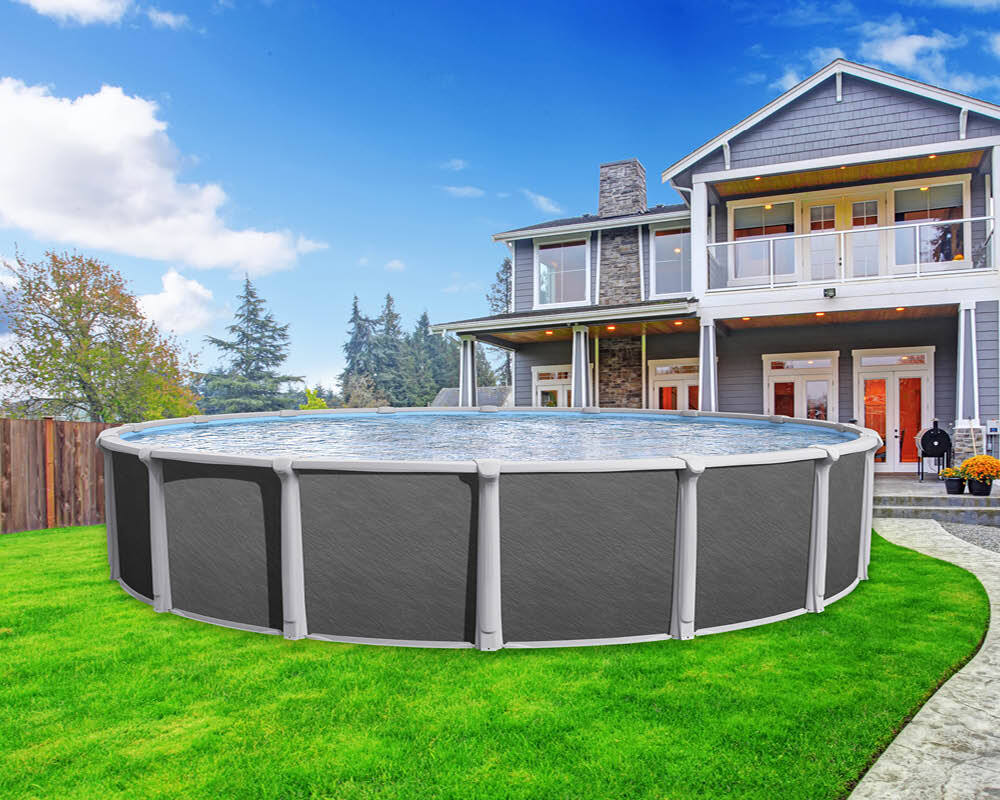
In situations where a unique cut-out has been provided (e.g. rocks, walls, features, and waterfalls) it is best to start the installation here as the cover was designed to fit this area snug and secure.
Just because the safety cover can be fabricated does not mean it can be easily installed—some can be quite tricky. In some cases, installers must get into a dingy inside the pool to drill anchor points into a waterfall face, one hand holding the drill and the other holding the wall. Some installations may also require the pool to be drained to provide better access to certain areas and, similarly, new liners and safety covers are often sold at the same time. When the liner is removed, installers have unhindered access to these complex areas.
By following an easy step-by-step method, most safety covers can be installed quickly and properly. Assuming the pool was measured correctly, the likelihood of the cover fitting like a tailor-made suit is high. Once the cover has been removed from the box and draped over the pool it is crucial to start the installation at the right spot.
In situations where a unique cutout has been provided (e.g. rocks, walls, features, and waterfalls) it is best to start the installation here as the cover was designed to fit this area snug and secure. This ensures the cover is locked in place with only minor movements allowed. Once in place, the installation can proceed by fastening the cover strap by strap.
After the cover has been installed and stretched across the pool, weigh the straps down with water-filled buckets to allow the cover to be adjusted to ensure the overall positioning is correct.
Step 1
Once the cover is centred properly, identify the strap that runs the middle length of the pool. Attach springs on each end, drill, and install. Complete both sides of the strap as this will start pulling the cover out of the pool.
Step 2
Repeat the first step only this time with the middle width strap.
Step 3
Working off the middle width strap, install both ends of the next strap. It does not matter if the installation proceeds towards the deep end or shallow end; however, it is important to always work off of an installed strap.
Step 4
Use all of the hardware provided. If the manufacturer supplied 10 waterfall bolts to secure a cable to a wall, use all of them. If only half are used there is a chance the cover will have sizeable gaps between rocks and/or the possibility of the cover being wrinkled and puckered.
What do manufacturers need to know?
In order for safety covers to be designed properly, obstacles such as rocks, waterfalls, gardens, slides, sheds, decks (widths and elevations), need to be addressed and measured. Basically, anything that is within 304 mm (12 in.) of the pool’s perimeter should be noted so the manufacturer can make the proper cutouts and customizations.
For example, if the manufacturer is unaware of a rock sitting on the pool’s edge in the centre of the deep end, the custom safety cover will be made with no cutouts in that area. Should the manufacturer be aware of the rock, the cover design will compensate for the obstruction and include strength straps on each side. Further, manufacturers will also ensure there is no cover overlap to bunch and/or wrinkle.
Sign up for our newsletter
Get all the latest news and features from Pool & Spa Marketing. Submit your email below to get our twice-monthly newsletter.
We use cookies on our website to give you the most relevant experience by remembering your preferences and repeat visits. By clicking “Accept All”, you consent to the use of ALL the cookies. However, you may visit "Cookie Settings" to provide a controlled consent.
This website uses cookies to improve your experience while you navigate through the website. Out of these, the cookies that are categorized as necessary are stored on your browser as they are essential for the working of basic functionalities of the website. We also use third-party cookies that help us analyze and understand how you use this website. These cookies will be stored in your browser only with your consent. You also have the option to opt-out of these cookies. But opting out of some of these cookies may affect your browsing experience.
Necessary cookies are absolutely essential for the website to function properly. These cookies ensure basic functionalities and security features of the website, anonymously.
Cookie
Duration
Description
cookielawinfo-checkbox-advertisement
1 year
Set by the GDPR Cookie Consent plugin, this cookie is used to record the user consent for the cookies in the "Advertisement" category .
cookielawinfo-checkbox-analytics
11 months
This cookie is set by GDPR Cookie Consent plugin. The cookie is used to store the user consent for the cookies in the category "Analytics".
cookielawinfo-checkbox-functional
11 months
The cookie is set by GDPR cookie consent to record the user consent for the cookies in the category "Functional".
cookielawinfo-checkbox-necessary
11 months
This cookie is set by GDPR Cookie Consent plugin. The cookies is used to store the user consent for the cookies in the category "Necessary".
cookielawinfo-checkbox-others
11 months
This cookie is set by GDPR Cookie Consent plugin. The cookie is used to store the user consent for the cookies in the category "Other.
cookielawinfo-checkbox-performance
11 months
This cookie is set by GDPR Cookie Consent plugin. The cookie is used to store the user consent for the cookies in the category "Performance".
CookieLawInfoConsent
1 year
Records the default button state of the corresponding category & the status of CCPA. It works only in coordination with the primary cookie.
PHPSESSID
session
This cookie is native to PHP applications. The cookie is used to store and identify a users' unique session ID for the purpose of managing user session on the website. The cookie is a session cookies and is deleted when all the browser windows are closed.
viewed_cookie_policy
11 months
The cookie is set by the GDPR Cookie Consent plugin and is used to store whether or not user has consented to the use of cookies. It does not store any personal data.
wordpress_test_cookie
session
This cookie is used to check if the cookies are enabled on the users' browser.
Functional cookies help to perform certain functionalities like sharing the content of the website on social media platforms, collect feedbacks, and other third-party features.
Cookie
Duration
Description
__cf_bm
30 minutes
This cookie, set by Cloudflare, is used to support Cloudflare Bot Management.
Performance cookies are used to understand and analyze the key performance indexes of the website which helps in delivering a better user experience for the visitors.
Analytical cookies are used to understand how visitors interact with the website. These cookies help provide information on metrics the number of visitors, bounce rate, traffic source, etc.
Cookie
Duration
Description
_ga
2 years
The _ga cookie, installed by Google Analytics, calculates visitor, session and campaign data and also keeps track of site usage for the site's analytics report. The cookie stores information anonymously and assigns a randomly generated number to recognize unique visitors.
_gat
1 minute
This cookie is installed by Google Universal Analytics to restrain request rate and thus limit the collection of data on high traffic sites.
_gat_UA-
1 minute
A variation of the _gat cookie set by Google Analytics and Google Tag Manager to allow website owners to track visitor behaviour and measure site performance. The pattern element in the name contains the unique identity number of the account or website it relates to.
_gid
1 day
Installed by Google Analytics, _gid cookie stores information on how visitors use a website, while also creating an analytics report of the website's performance. Some of the data that are collected include the number of visitors, their source, and the pages they visit anonymously.
Advertisement cookies are used to provide visitors with relevant ads and marketing campaigns. These cookies track visitors across websites and collect information to provide customized ads.
Cookie
Duration
Description
ADV_u_id
3 months 8 days
Unique customer identifier used to track unique ad views and interactions with some ads.
IDE
1 year 24 days
Google DoubleClick IDE cookies are used to store information about how the user uses the website to present them with relevant ads and according to the user profile.
loc
never
AddThis sets this geolocation cookie to help understand the location of users who share the information.
test_cookie
15 minutes
The test_cookie is set by doubleclick.net and is used to determine if the user's browser supports cookies.
Other uncategorized cookies are those that are being analyzed and have not been classified into a category as yet.
Cookie
Duration
Description
pvc_visits[0]
299 years 9 months 18 days
This cookie is created by post-views-counter. This cookie is used to count the number of visits to a post. It also helps in preventing repeat views of a post by a visitor.