

Welding PVC to the walls and floor of a pool is the easiest to learn, while more intricate parts like stairs and corners can be more complicated. As such, these complex areas tend to be the focus of most installation training.
Understanding the installation process
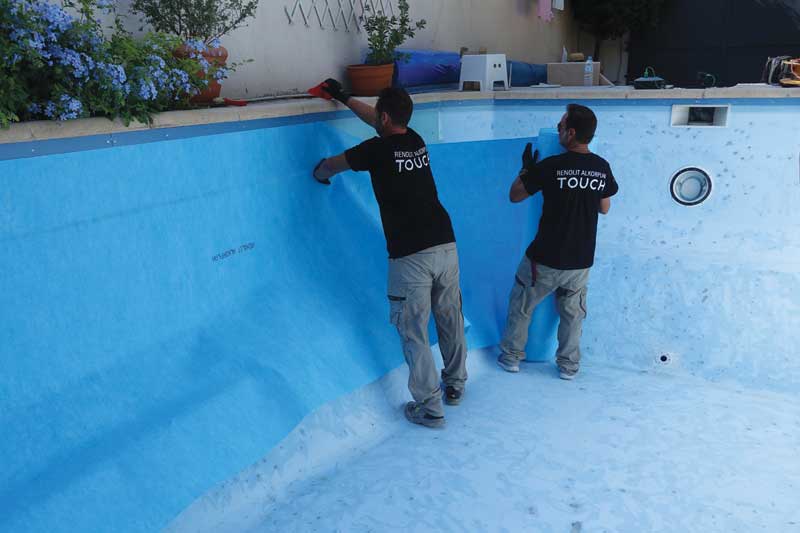
The installation process of a PVC membrane is straightforward. Before lining the pool with material, installers need to repair the surface first, with most requiring at least a day or less for preparation. Once the pool surface is ready, a felt lining is installed along the floor and walls. The lining is adhered and acts like a pad under a rug. It protects the surface from bacterial proliferation and, while not its main purpose, also gives a soft, slightly cushioned feel.
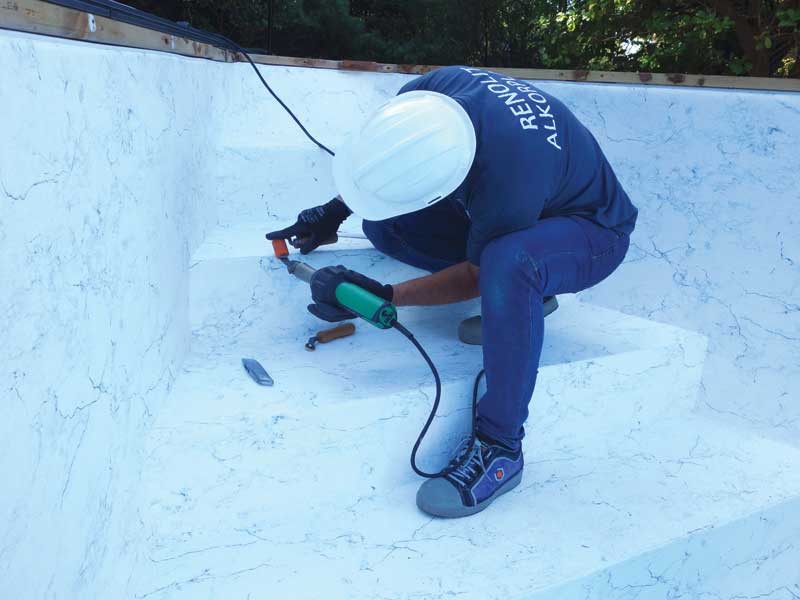
After installing the felt liner, pool builders roll out 1.8-m (6-ft) wide strips of PVC membrane and heat weld them on-site to ensure a smooth fit. Afterwards, they also cut, fit, and weld steps, beach entries, safety ledges, etc.
Welding techniques
When it comes to mastering the installation of PVC membranes, there are essentially three welding techniques used during different parts of the process to obtain the most water-tight and esthetically pleasing pool finish.
All installers will make use of spot and traditional overlap welding. Both techniques are sufficient to obtain a water-tight liner. However, for those seeking a superior and sophisticated look, butt-welding can also be used along the pool floor to make the welds virtually invisible.
Spot welding
This is a technique where quick, small “pre-welds” are made between the overlapping layers of PVC membrane to help position and adhere it to keep it from moving before performing the complete overlap weld. This allows the installer to fasten and adhere the membrane. These welds should be made at intervals of about 178 to 203 mm (7 to 8 in.) apart down the seam in preparation of the full overlap welding process. The pieces at this point must be perfectly aligned so these “tack welds” (as they are also referred to) can be detached if
the initial positioning of the material is not perfectly aligned.


