Plaster pool start-ups
Day 4
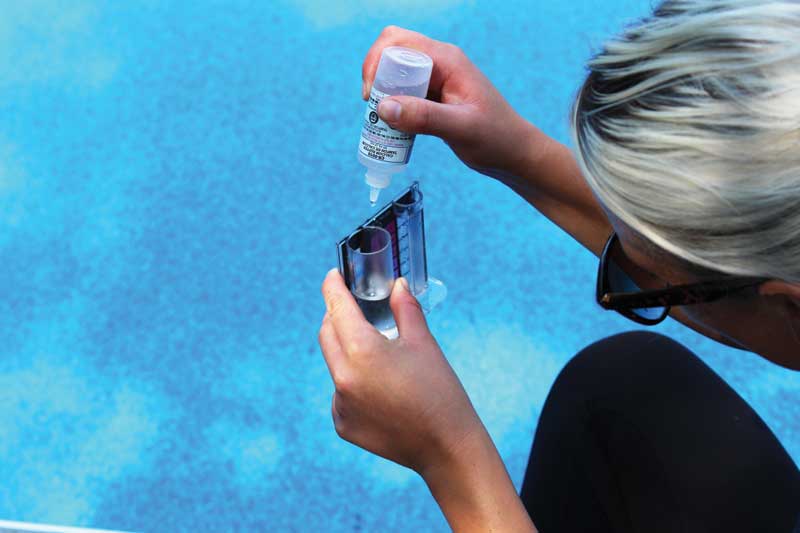
On Day 4, the pump’s run time can be reduced to 10 to 12 hours per day, although continuing to run it for 24 hours is ideal. If needed, the surface can be brushed to remove plaster dust. Chlorine residual, pH, and total alkalinity should be tested and adjusted as needed. The calcium hardness can also be adjusted, but it should never exceed 200 ppm for any reason. The final step for the day is to add stabilizer, to establish a cyanuric acid (CYA) residual of 30 to 40 ppm.
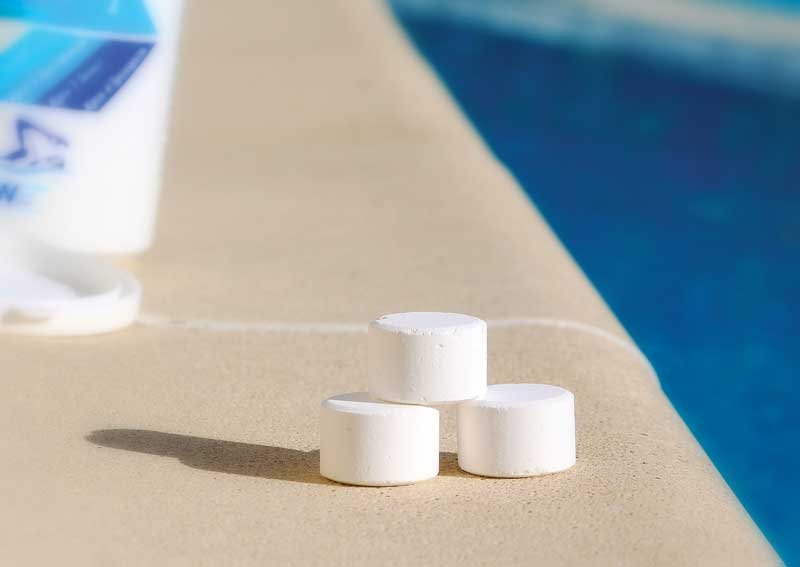
Also known as conditioner, CYA is vital to protecting free chlorine from the sun’s ultraviolet (UV) rays. It can be added to the pool as a slow-dissolving granular product or as a liquid. While both are effective, the granular product is often hard to apply due to its slow-dissolving nature. If CYA granules are broadcast into the pool and do not dissolve quickly, damage can occur to the pool’s surface. Using liquid CYA helps reduce the chance of surface damage.
Days 5 to 28
Days 5 to 28 are essentially the same routine. Water balance parameters can be tested and adjusted as needed, and the surface should be brushed as necessary to loosen plaster dust. On Day 7, any remaining plaster dust can be vacuumed from the pool, using a non-wheeled vacuum head. A routine stain and scale control product should be added to protect the finish and equipment from metal-based staining and calcium-based scale buildup. This product will then be added monthly as part of routine maintenance, in order to extend surface and equipment protection.
Day 29
On Day 29, the curing process is complete, and the pool can be switched to a routine maintenance program. If it is a salt pool, salt can be added at this time to attain the desired residual set by the salt cell manufacturer. Once the salt is added, the chlorine generator may be turned on and salt pool maintenance will begin. Checking and balancing the pH is vital, as salt pool chemistry contributes to an overall rise in pH.
It is important to wait until Day 29 to start the pool on salt, to prevent surface damage. The pool can be maintained with the manual addition of chlorine via feeder, skimmer, or direct application until the curing process is complete and salt can be added.
Setting the pool up for success
Taking the previously outlined steps during its first 28 days will set the stage for a long, successful, and trouble-free life for a plaster pool. Water balance is critically important to preventing surface damage, and it must be tested and adjusted daily during the curing process. Finally, using appropriate chemicals at the start-up—rather than reacting to issues as they arise—will allow staff to be proactive in caring for each new pool.
Author
 Alicia Stephens is the education and training manager for Biolab Inc. In her 20 years with the company, she has focused primarily on education, training, and development, as well as technical support and new product research and integration. Currently, Stephens supports all education and training initiatives for the Biolab Pro Dealer division. She can be reached via email at alicia.stephens@biolabinc.com.
Sign up for our newsletter
Get all the latest news and features from Pool & Spa Marketing. Submit your email below to get our twice-monthly newsletter.
Read the Latest Issue