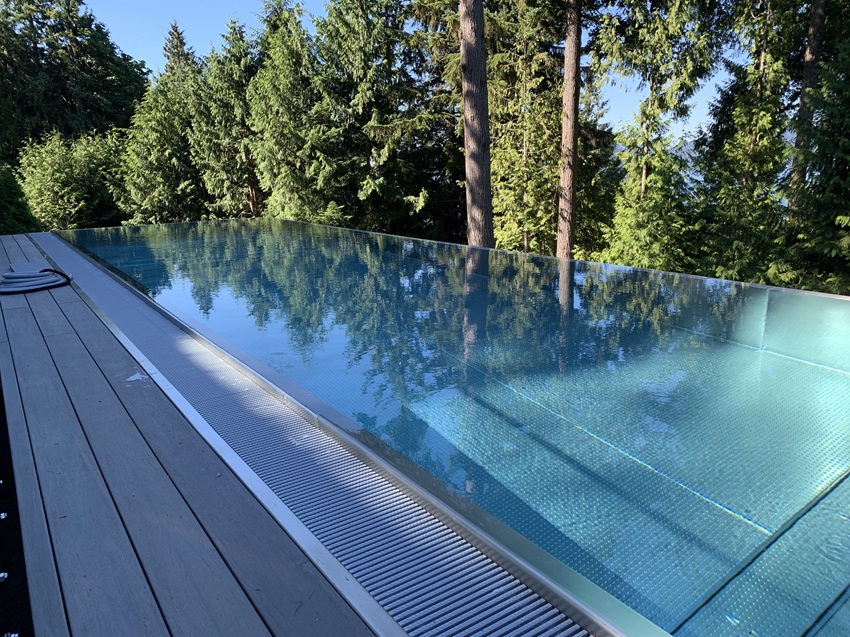
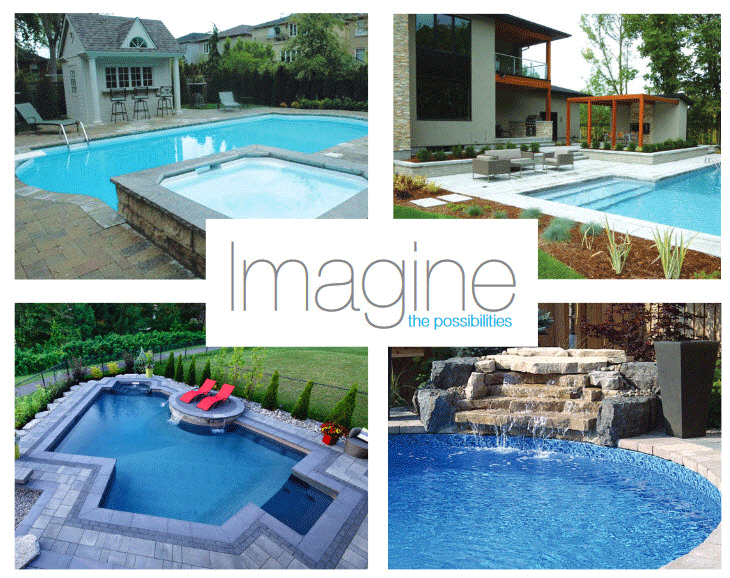
Fibreglass pool installation
Step 4: Setting the base
Setting the base is the most important part of a fibreglass pool installation. The excavation can be close, but the base needs to be perfect. One way to achieve the perfect base is to use a rail system.

To do this, build two long rails using 2x4s and lay one on each side of the excavation. Then, fasten the rails to vertical 2×2 stakes, and as per the dig sheet specifications, tap them into position while using the laser level to ensure accuracy. Finally, level off the HPB screening between the rails using another 2×4.
HPB is a must; not only for a better job, but also because it is much easier than using sand or limestone screening and provides up to 98 per cent compaction without having to use a plate tamper. HPB will not compact or settle, even when pressure is applied to the base. Further, when using sand or other screenings, the backfill needs to be washed to assist in the compaction of the material, which is not the case when using HPB.
Finally, another benefit to using HPB is that water can travel through the stone without disrupting the base. This is an obvious advantage if and when the need arises to remove water from underneath the pool in the event it needs to be completely drained.
Step 5: Craning the pool
When it comes time to crane the pool over the house, in most cases, it is always a good idea to use one crane-size up from what is required to avoid having to use the homeowner’s driveway. Trying to save money by using a smaller crane can sometimes cause driveway damage as most are not built to accommodate heavy equipment.
Even though the client has signed a waiver, making them responsible for any damage, the builder will unlikely be able to repair the damage caused to the relationship once the client discovers their driveway can be used as a skateboard park.
Step 6: Setting the pool
Once the pool has been lowered into the excavation area, it should be pretty close to being level. However, should minor adjustments be necessary, they can be made easily by using a few strategically positioned 4×4 pressure-treated posts.
Fibreglass pools traditionally come equipped with built in steps and seating areas that tend to require initial support during the backfilling process. Before placing these supporting posts with the use of a small bottle jack (i.e. hydraulic jack) and of course the laser level, be sure to add at least 0.3 to 0.6 m (1 to 2 ft) of water into the pool to prevent it from moving during the final tweaking.
Once satisfied the pool is perfectly level, proceed with backfilling. As an aside, always remember, once the pool is filled with water, the laser level is no longer required to verify the pool was installed correctly as water does not lie and the pool will not level itself out once it is filled.
Step 7: Backfilling
Once again, HPB simplifies the backfill process. Simultaneously fill the pool with water while backfilling, thus providing equal pressure on the pool walls from both sides. Attention is required when filling under the pool’s stairs and seating areas. This can be a tedious process; however, it can be accomplished by using a short 2×4 and simply jamming HPB as tightly as possible to fill all the voids. The pool should be backfilled to approximately 0.6 m (2 ft) from the top to accommodate the installation of returns, lights, therapy jets, and skimmer.
Sign up for our newsletter
Get all the latest news and features from Pool & Spa Marketing. Submit your email below to get our twice-monthly newsletter.
Related Products

Read the Latest Issue