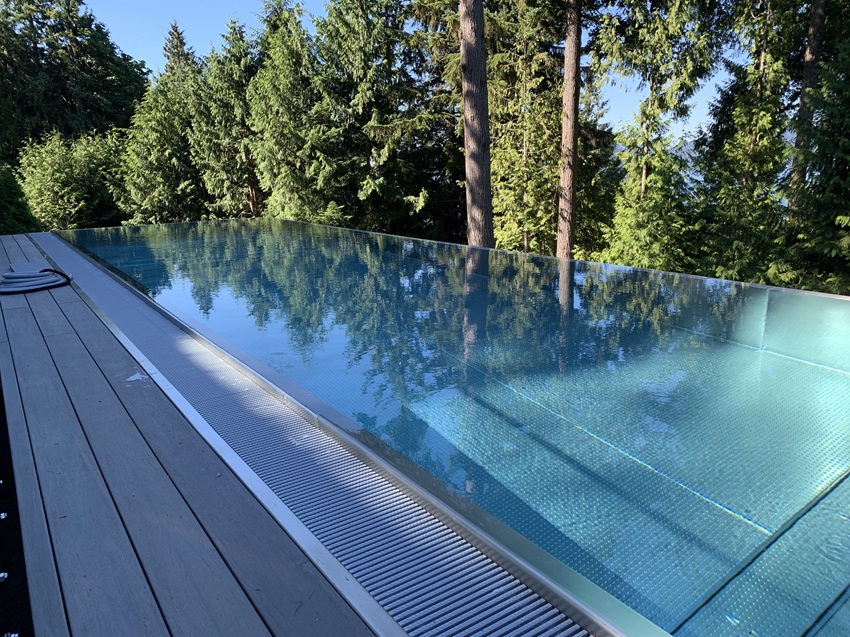
Installing an award-winning fibreglass pool in an irregular backyard
Squeezed for space

The sequence of installing the various elements of the project was also affected by the limited space the jobsite provided. For instance, the perimeter fencing for the pool was installed first. Then, a portion of the retaining wall was constructed to provide support for the pool. Once this was completed, the excavation process could commence. During this stage of the project, the standard guidelines for fibreglass pool installation, which require excavating very close to the actual pool size, were followed. Most manufacturers recommend no more than a 76- to 105-mm (3- to 4-in.) over dig for the floor and 152 mm (6 in.) for the walls.
At this point, for most fibreglass installations, a permanent sump line would typically be installed. This provides a means of checking for groundwater around the pool and evacuating it in the event the water table rises in the future. The water table needs to be taken into account because excess hydrostatic pressure from outside the pool wall can cause pool damage. One of the key principles of fibreglass pool construction is to consistently maintain equal pressure inside and outside the pool.
However, given the grade of this installation, groundwater was not deemed to be an issue. Even if the water table should rise in the future, it will always flow away from the pool due to the grade.
As a result, this saved time with respect to the pool’s installation and also reduced costs for the client.
Once the site was excavated, the bottom of the excavation—where the pool would rest—was prepped following standard protocol for proper compaction free of undulations.
Innovative approaches
Different techniques were required to deal with the size and layout of the jobsite, which presented challenges with respect to crane, equipment, and material access, not to mention limited storage space. To overcome these issues, a conveyor belt was used to transport gravel into the backyard, while concrete was pumped over the client’s house using a boom pump. As the use of heavy equipment in the backyard was simply not an option, a 50-ton crane was used to lift the fibreglass pool shell over the house, and lowered into the prepared excavation from the street.
Once the pool was set in place, the armour stone retaining wall around the pool perimeter could be completed and the pool could be backfilled. This is the process of ‘locking in’ the pool by placing and tamping backfill around the pool’s radius, which keeps it firmly in place during the remainder of the installation.
Water was then added to the pool—approximately 102 to 152 mm (4 to 6 in.)—to give it weight to hold the floor in position. During this stage, additional compaction material was added around the pool perimeter, making adjustments as needed, while taking readings with a transit level to ensure the pool remained level.
This is an important process and should not be rushed. If too much water and/or backfill is added too fast, the pool can be forced out of level. During this process, the transit level was used to check for any movement in areas that have been locked in, as well as to see what adjustments still need to be made. Once this was completed, the pool’s plumbing was installed and the concrete deck was poured, again using the boom pump.
Sign up for our newsletter
Get all the latest news and features from Pool & Spa Marketing. Submit your email below to get our twice-monthly newsletter.
Related Products

Read the Latest Issue