Maintenance and application techniques for cement-based pool finishes
Mechanically applied
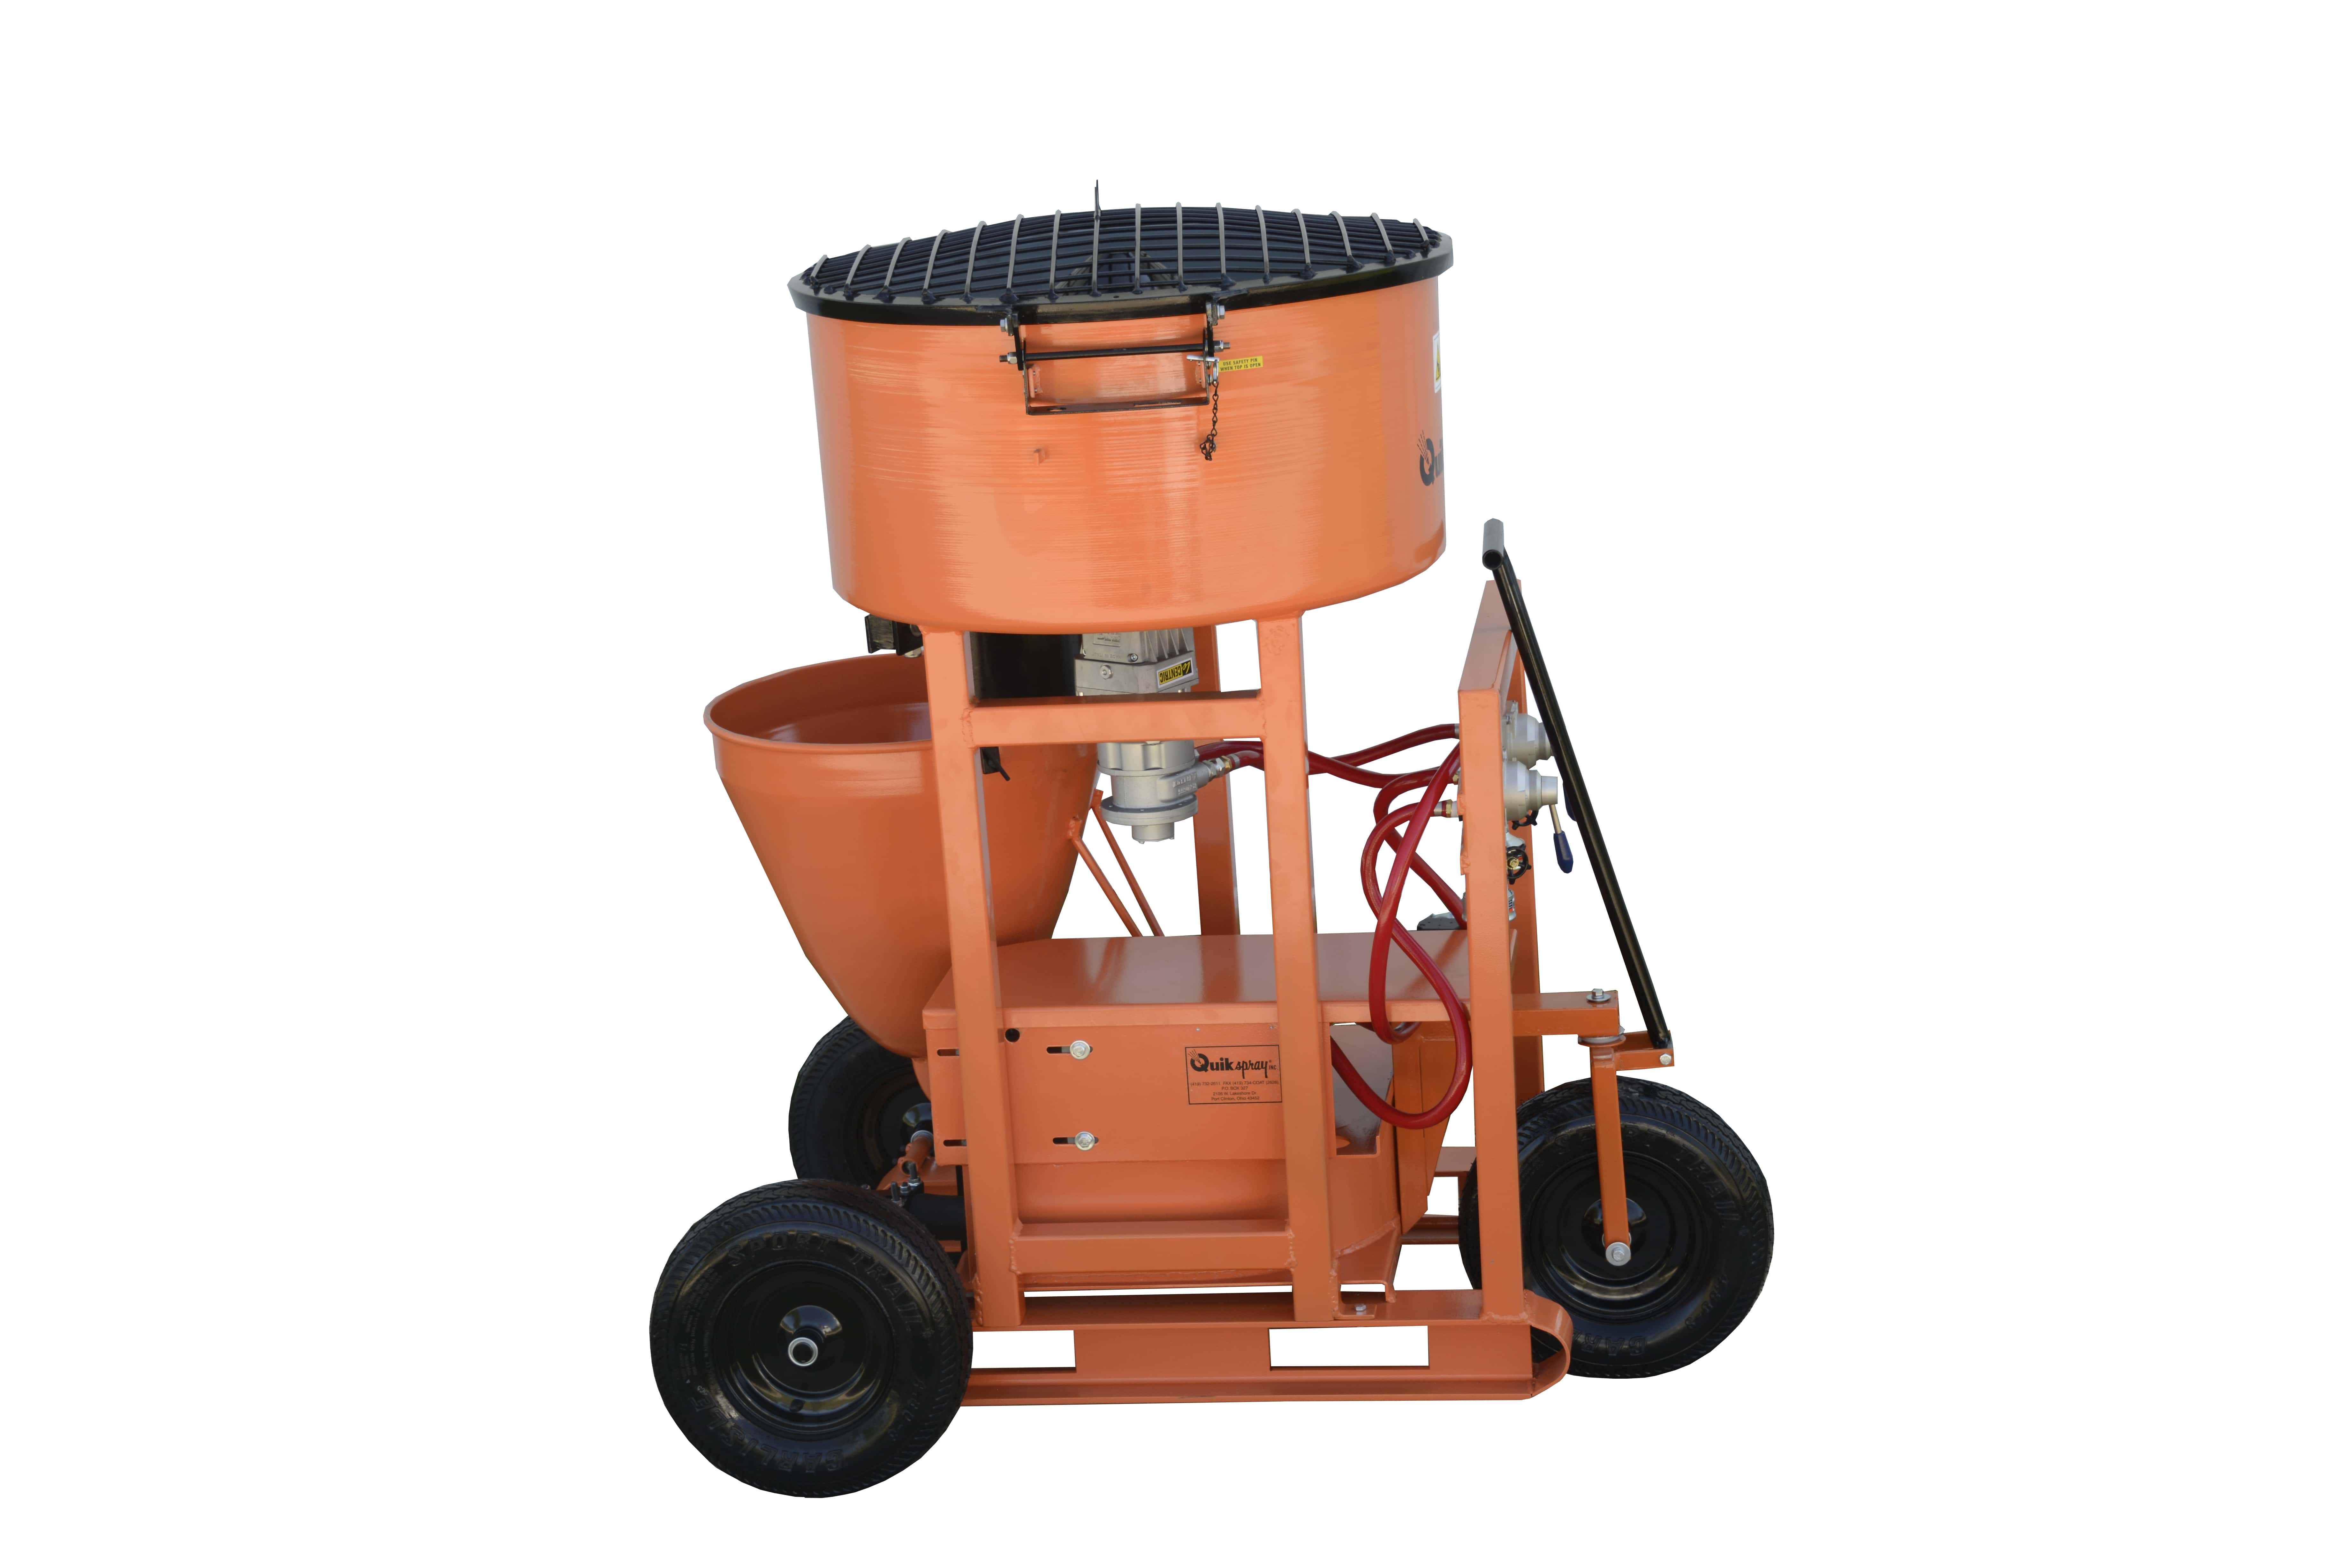
Applying cement-based pool finishes with a pumping rig involves using a large flatbed truck that has been specifically designed and equipped with a large, 0.33- to 0.39-m3 (12- to 14-cf) mixer, with an integrated hopper and pump.
This rig allows more than 453 kg (1,000 lbs) of pool finish material to be mixed at one time, reducing the total number of batches required to complete a pool project. Large, 51-mm (2-in.) hoses are connected to the manifold of the pumping rig, which would be parked on the street to eliminate any damage or mess to the customer’s property.
The mixture is then sprayed onto the pool surface, creating a mechanical bond by the pressure of which the material ‘shoots’ out of the hose. Although traditional marble-based finishes can be placed manually or pneumatically, higher quality pebble- and glass-bead finishes can only be installed via custom configured pumping rigs with specialized pumps.
| PLASTER POOL START-UP PROCEDURES |
|---|
| With any cementitious-based finish, swimming pool start-up and maintenance procedures are key; following the recommendations of the National Plasterers Council (NPC) can assist in this process. Cement-based finishes generally begin to hydrate immediately after mixing, with the majority of hydration taking place within the first 28 days. This critical time period is when the finish is most susceptible to staining, scaling, and/or discolouration. Therefore, proper start-up procedures, including timely pool brushing, and constant monitoring and adjusting of the pool water is mandatory. The following recommended start-up method is based on procedures shown to produce the best esthetic results. Due to unique local water conditions and environmental factors, parts of these procedures may need to be modified to protect the pool finish. (For example, filling the pool with water containing extremely low calcium hardness, pH, or total alkalinity (TA) levels may necessitate changes to these procedures. Brushing and monitored chemical adjustments will be mandatory by the homeowner, or a trained pool technician, during the service life of any pool surface.Pool filling day 1. Make sure the filtration equipment is operational. 2. Remove all pool floor return heads and directional eyeballs (if appropriate and recommended as per the geographical area). 3. Based on temperature and pool finish type, fill the pool to the middle of the skimmer or other specified water level as rapidly as possible and without interruption using clean potable water to help prevent bowl ring. Cover the end of the hose with a clean rag and place the nozzle in the deepest point of the pool to prevent damage to the surface material. If a water truck is required, the pool’s deep end should be pre-filled with approximately 0.6 m (2 ft) of water to provide a water cushion. Further, wheeled devices should not be used in the pool until after the 28-day start-up has been completed. 4. Also, at no time should any person or pets be allowed in the pool during the fill. To help prevent streaking, do not allow any external sources of water to enter the pool. Further, it is recommended no one swims in the pool until the water is properly balanced. 5. Test the parameters of the fill water (e.g. pH, alkalinity [TA], calcium hardness, and metals). Be sure to record all test results. 6. Start the filtration system immediately when the water level reaches the middle of the skimmer or other specified level. Day one (after filling the pool) Day two (brush the pool) Day three Days four to 28 The NPC also offers start-up technician courses to certify pool service personnel. Upon completion of the 28-day start-up, water chemistry and maintenance should be monitored and balanced as per NPC guidelines. |
Conclusion
When choosing a cement-based pool finish, consider the hardness of the material used as well as its warranty and application procedures. Keep in mind, as the material of choice moves up the Mohs scale of mineral hardness, the price point will also increase. More importantly, however, application superiority and quality control will determine the beauty and longevity of a cement-based pool finish.
 Peter Vamvakaris is the operations manager for Pebble Tec Canada, Canada’s first appointed installer of Pebble Technology International’s line of swimming pool finishes. He is a second generation pool finisher and an active member of the National Plasterers Council (NPC). He can be reached via e-mail at peter@pebbletec.ca.
Sign up for our newsletter
Get all the latest news and features from Pool & Spa Marketing. Submit your email below to get our twice-monthly newsletter.
Related Products
Read the Latest Issue