Concept pool in the making

Once the pool specifics were confirmed with the homeowner, Pool Craft contacted The Landscape Company in Aurora, Ont., the firm that originally designed the property, to advise of the client’s interest in adding a pool to the plan. Fortunately, a plan had been created that incorporated a pool; however, based on preliminary discussions with the client, the concept was never presented to them.
Therefore, Pool Craft contacted the designer to arrange a meeting to review the pool plans and discuss the project’s logistics, timing, and any possible challenges. The pool design was impressive. In fact, this author had never seen a pool like it; yet, one adjustment had to be made, which was extending the pool size by 0.6 m (2 ft) to make the transitional slope from the deep end to the shallow end more gradual. Otherwise, the design was near perfect as it met all of the client’s stipulations. That said, the pool profile and options were presented to the homeowner the next evening and were approved immediately. In fact, the client made their deposit the following day so the plan could be put into action.
Getting started
Before starting the project, a pool enclosure permit was required. Each municipality has different requirements and the costs vary greatly from one town/city to another. As this project was being built in the Town of Richmond Hill, a number of grading certificates were needed (in essence, a surveying company inspects the property and determines what the pool elevation must be and how water on the property must drain), along with a permit fee, and a security deposit from the client. The surveyor also had to certify the lot at the conclusion of the project and provide a letter of certification so the homeowner can get their security deposit back. This process generally takes a minimum of four to six weeks.

Pool Craft’s first meeting with the pool designer was on-site after the elevations and setbacks were verified. The pool was marked out and the elevation was confirmed. The landscape design was an 11- x 14.6-m (36- x 48-ft) scaled plan, which included everything from hardscaping (e.g. paver stones) and softscaping (e.g. plants, foliage, etc.) materials.
Up against a wall
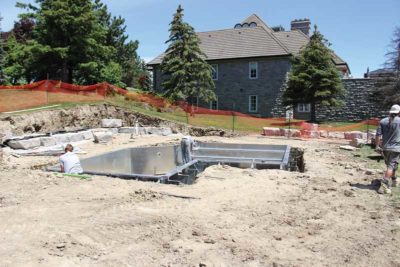
In most situations, the pool installation is the first component of the project to be completed and then the landscaping is finished around the pool; however, this particular project was different. Due to site access and location, a retaining wall had to be installed prior to the pool.
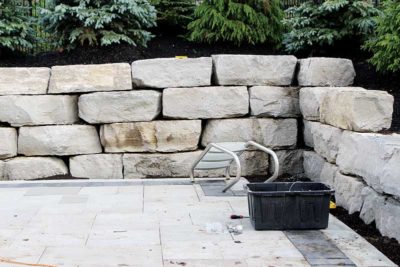
In some areas, four rows (courses) of armour stone were used to build the retaining wall. Each stone was carefully placed and levelled, as each row was constructed one at a time. Due to the nature and irregularity of armour stone, this can be a tedious process as not all stones are the same size or shape and, therefore, had to be selected carefully as one stone could be better suited in a different area of the wall.
Further, as the retaining wall had to be installed first, it made the space for the pool installation a little more cumbersome than what is typically the norm for most projects.


