Tips for measuring and installing covers on challenging pools
Note all obstacles
When measuring, it is important to document any obstacles around the pool’s perimeter, including decorative rocks, plants, planters, minimal/limited deck, raised spas, walls, etc.
Each obstacle should be measured using the triangulation method and include ‘numbered points.’ Taking photos of the entire poolscape and sending them in with the dimensions is a great way to ensure nothing is missed.

“I start my measuring jobs with my digital camera,” Knapp says. “I take photos of everything around the pool where the cover is to be installed—from far away and close up. A picture is worth a thousand words; if you don’t have a digital camera, get one. It’s a small price to pay versus the costs associated with getting a safety cover that doesn’t fit properly.”
Some safety cover manufacturers offer plotting software that can be loaded onto a laptop, allowing pool professionals to utilize the program on the job site. For example, pool perimeter dimensions can be entered into the program, as measurements are being taken, to allow the technician to verify the measurements as a plotted shape. These programs can also save a pool professional the trouble of having to return to the job site to confirm measurements, saving valuable time.
Ladders, slides and diving boards can present some of the most challenging obstacles to work around. For example, non-removable ladders that are set into the concrete deck or slides and diving boards that protrude extensively into the pool area can be quite difficult to measure. Some covers have several cut outs for ladders, as getting a cover to fit snuggly around a stainless steel tube can be a challenge.
Measure vanishing edges
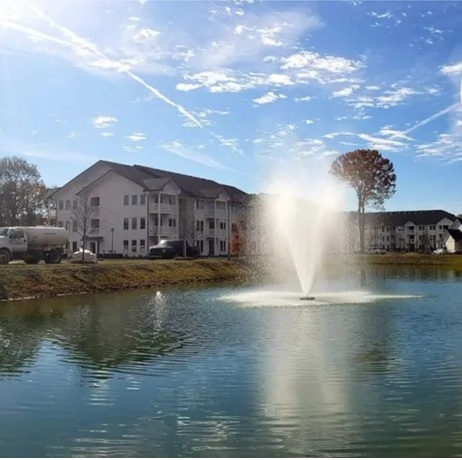
Measuring a pool with a vanishing edge can present a few challenges; however, it is by no means impossible. On these pools, the safety cover is generally fastened to the vertical wall behind the vanishing edge; in some cases, the collection trough may also need to be covered. Either way, to plot the points along the vanishing edge properly it is important to lower the water level and turn off the pump. Always be sure there is a point at the beginning and end of the edge.
To avoid any problems, simply explain to the homeowner what needs to be done to properly measure the pool’s perimeter and that the process will take roughly an hour to perform.
Measuring replacement safety covers
Now that safety covers have been available for many years and more prevalent the last two decades, many installers have seen a huge increase in demand for replacement covers (most covers last approximately 10 years).
Homeowners are not interested in having additional holes drilled into their deck, so on top of plotting the pool’s perimeter, installers must also plot the existing anchor points in the deck.
Plotting the existing anchors is very important, as not all safety covers are manufactured the same. For example, some have 1.5- x 1.5-m (5- x 5-ft) sections between the straps, while others use 1- x 1-m (3- x 3-ft) sections. Varying amounts of ‘overlap’ may exist between manufacturers as well. Overlap normally ranges from 0.3 to 0.45 m (12 to 18 in.) adding an additional 0.6 to 1 m (2 to 3 ft) to the overall cover size versus the actual pool.
The most common mistake installers make when plotting a replacement cover is taking the measurements from ‘between’ the straps on the old safety cover. This will provide an inaccurate measurement of the safety covers total length.
The proper way to obtain this measurement is to start at the end strap (the perimeter strap that forms the end of a rectangular cover), and measure to the first strap. Then, once again from the end strap, measure to the second strap, and so on. By starting from the end strap each time, the installer will be sure to get an accurate length of the cover.
On freeform shaped pool covers, the end strap is identified as the very first strap that extends across the pool from anchor to anchor. When measuring for these covers, be sure to account for the spacing between the longest length of the pool/cover and the first cross strap, as well as the spacing across the width of the pool, as they are often not symmetrical squares or grids. It is also important to note what end of the pool the measurements started from (e.g. shallow end or deep end) in order to establish the pool’s right and left sides.
Sign up for our newsletter
Get all the latest news and features from Pool & Spa Marketing. Submit your email below to get our twice-monthly newsletter.
Products
Read the Latest Issue